
How To Create Invoice In Excel: Hi friends! If you’re here, it means you want to learn How To Create Invoice In Excel. This guide will show you three simple ways to do it.
This guide shows you how to make a business invoice using Microsoft Excel on both Windows and Mac. You can either create the invoice yourself or use a ready-made template.
So, Let’s start without wasting time.
How To Create Invoice In Excel In Windows:
Step 1: Search excel in windows and open it. The excel home will appear.

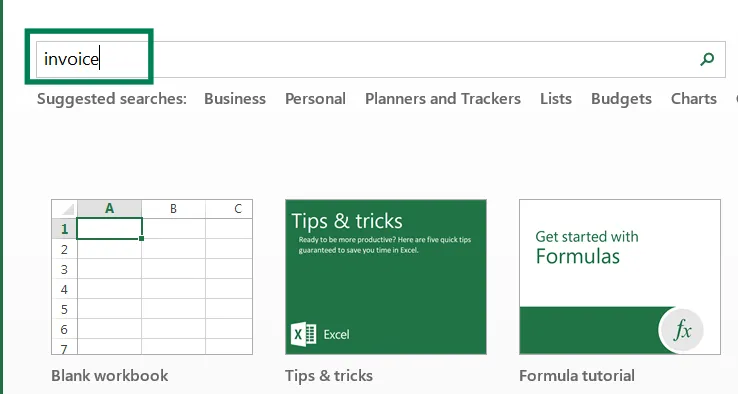
Step 2: Type “invoice” in the search bar at the top and press Enter. You need an internet connection to search for templates.
Step 3: Click on a template you like to see a preview.
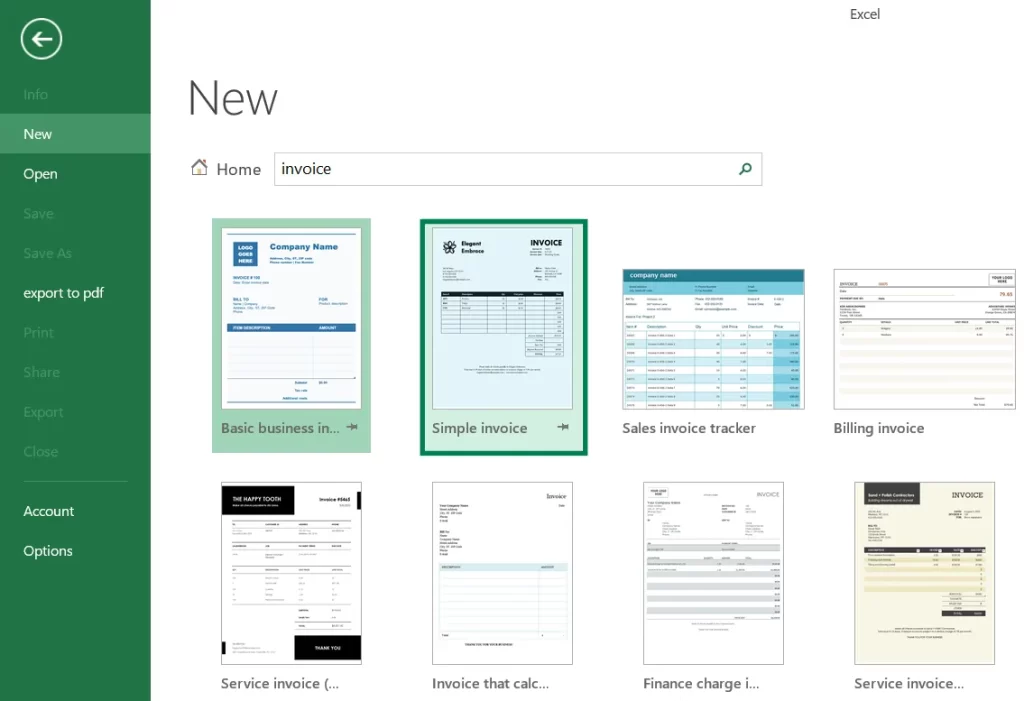
Step 4: Click the “Create” button next to the preview to open the template in Excel.
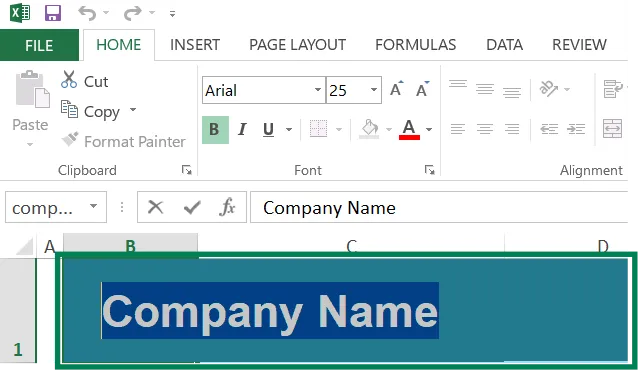
Step 5: Change the template to fit your needs. For example, replace “Company” with your company’s name by double-clicking the text and typing your own.
Step 6: Add details like hourly rates, fixed charges, or other required information. The template will automatically calculate the total.
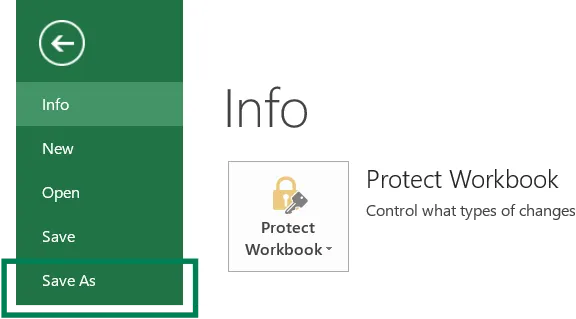
Step 7: Click “File” > “Save As,” choose where to save it, name your invoice, and click “Save.” Your invoice is ready to send.
How To Create Invoice In Excel On A Mac:
Step 1: Open Excel: Click the green icon with a white “X.”
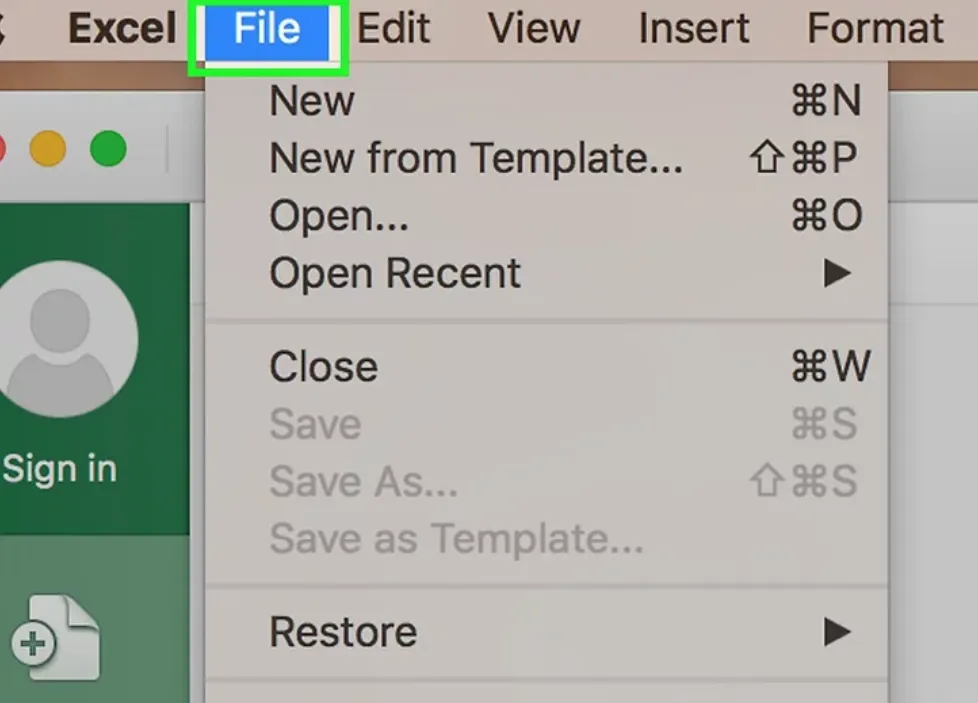
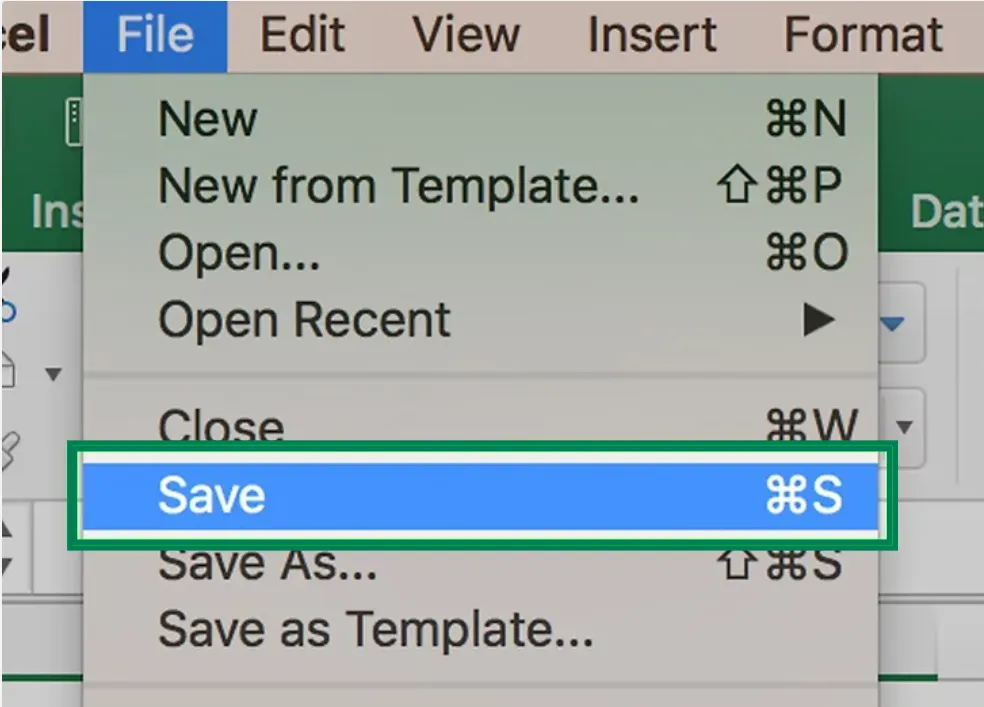
Step 2: Click File: Go to the top-left corner and click “File.”
Step 3: Select New from Template: Choose this option from the menu.

Step 4: Search for an Invoice Template: Type “invoice” in the search bar and press Return.
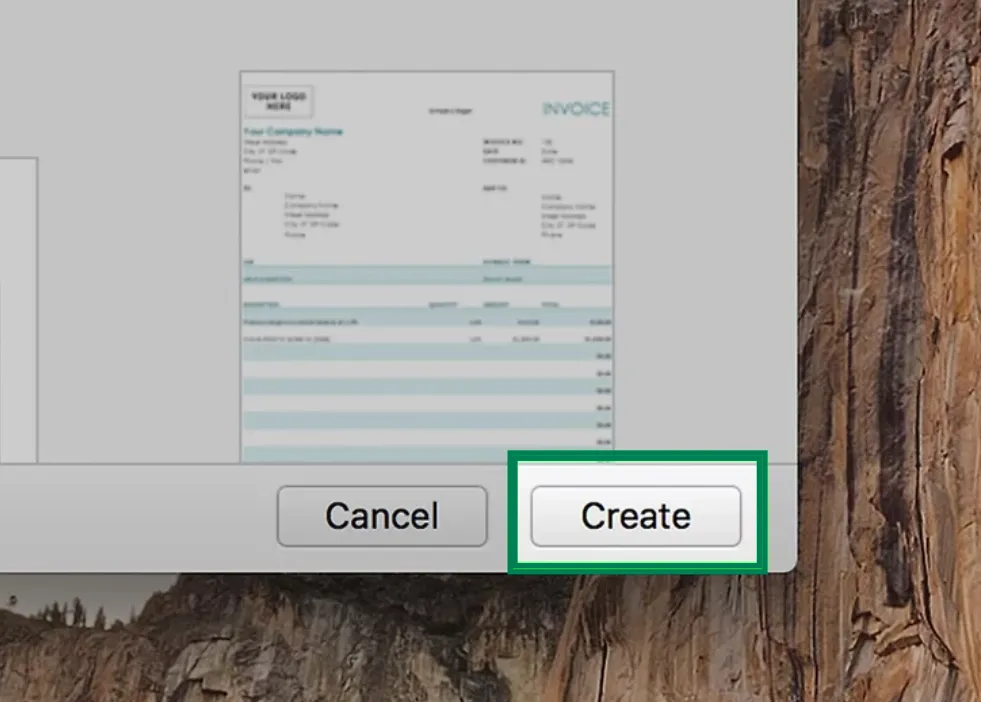
Step 5: Pick a Template: Click a template to preview it.
Step 6: Click Open: Open the template in a new document.
Step 7: Edit the Template: Customize it by replacing placeholders like “Company” with your details.
Step 8: Fill Out the Invoice: Add the necessary information, such as rates or hours worked.
Step 9: Save the Invoice: Click “File” > “Save As,” name your invoice, and save it. It’s now ready to send.
Also Read: How To Create Chart In Excel From Table
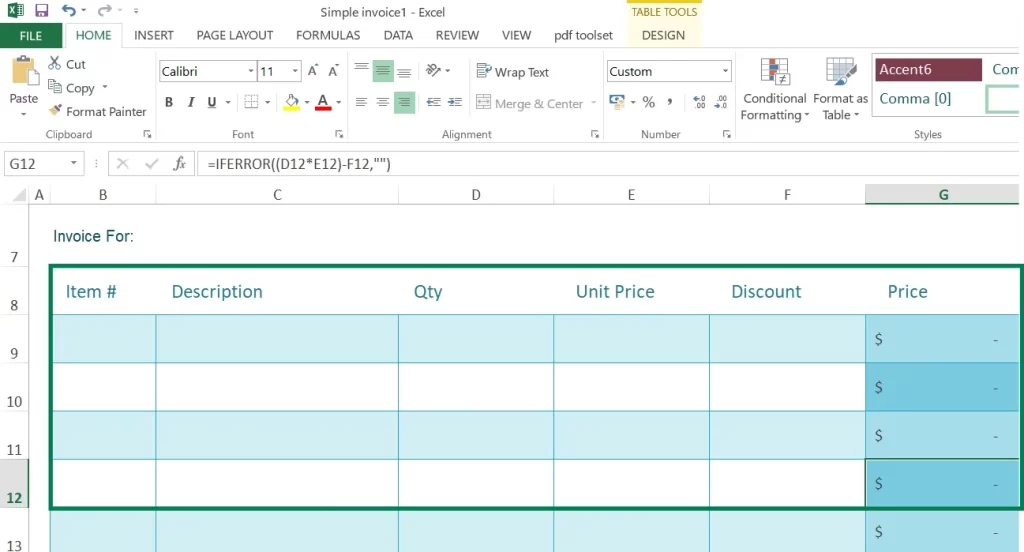
Creating An Invoice Manually:
Step 1: Open Excel
Step 2: Click “Blank Workbook” to open a new spreadsheet.
Step 3: Add your company name, the word “Invoice,” the date, and an invoice number.
Step 4: Include your contact information and the client’s details at the top.
Step 5: List the products or services, quantities, prices, and totals in columns.
Step 6: Use Excel’s SUM function to add up the costs.
Step 7: Write when the payment is due (e.g., “Due in 30 days”) and any other notes.
Step 8: Click “File” > “Save As,” name your invoice, and save it. It’s now ready to use.
Also Read: How To Create Hierarchy Tree In Excel
Use Of Invoice In excel:
An Excel invoice helps people and businesses make bills for products or services. Users can change templates, let Excel add up totals, and keep track of payments without hassle. Excel’s formulas handle taxes and discounts, cutting down mistakes.
It also helps store and sort invoices neatly. Using Excel for billing saves time, keeps things accurate, and makes managing money easier. It’s a simple, affordable tool for creating bills and keeping records.
Also Read: How To Add Hyperlink In Excel
Conclusion:
In conclusion, Making an invoice in Excel is an easy and useful way to handle your billing. Excel has ready-made templates, formulas, and options to customize, so you can create professional invoices that fit your business. By following the steps in this guide, you can make invoices, keep track of payments, and manage your finances accurately.
Whether you work for yourself, run a small business, or are starting out, Excel is a budget-friendly tool for creating invoices quickly. Start practicing today, and soon you’ll be able to make invoices without any trouble. If you need more help, check out other Excel tips to improve your productivity and money management skills.