
How To Add Header And Footer In Excel: Hi friends! If you’re here, it means you want to learn How To Add Header And Footer In Excel. This guide will show you a simple and easy ways to do it.
You can add a header to show the same details at the top of each printed page or a footer to display info at the bottom of every page. You can create your own headers or footers, use ready-made ones, or add things like images or page numbers.
So, Let’s start reading this article without wasting any time!
Adding headers and footers in Excel is an easy way to enhance the appearance of your sheet. In this article, I will guide you on how to add headers and footers to your Excel sheet separately.
How to Add a Header in Excel
Adding a header in Excel is simple. Here’s how:
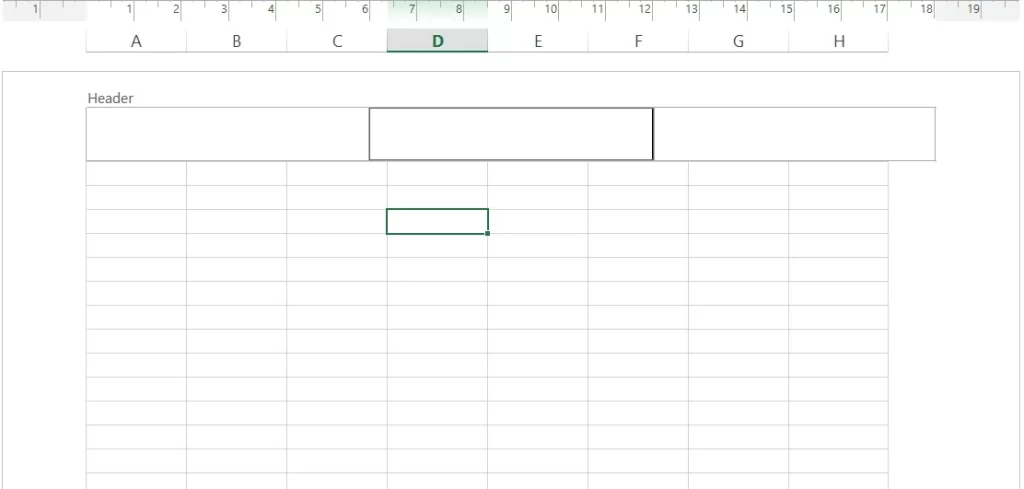
Step 1: Go to the Insert tab, then click Header & Footer in the Text group. This will switch your worksheet to Page Layout view.

Step 2: You’ll see three boxes at the top of the page (left, center, and right). Click any box to add text, insert a picture, or use a preset header option.
Step 3: If you want the header on the left or right side, click the left or right box and type your text.
Step 4: When done, click anywhere outside the header box to save it. Press Esc if you want to cancel.
Step 5: When you print, the header will appear on every page.
Adding a footer is just as easy:
Step 1: Go to the Insert tab, then click Header & Footer in the Text group.
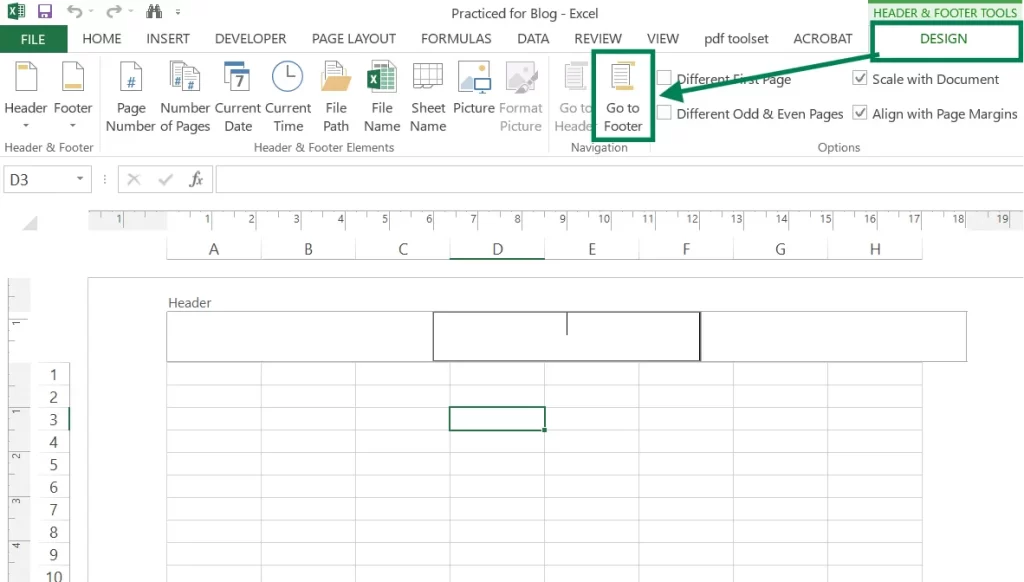
Step 2: Scroll down or click Go to Footer on the Design tab to reach the footer boxes at the bottom of the page.
Step 3: Click the left, center, or right box to add text, page numbers, or other elements.
Step 4: When finished, click anywhere outside the footer box to save it.
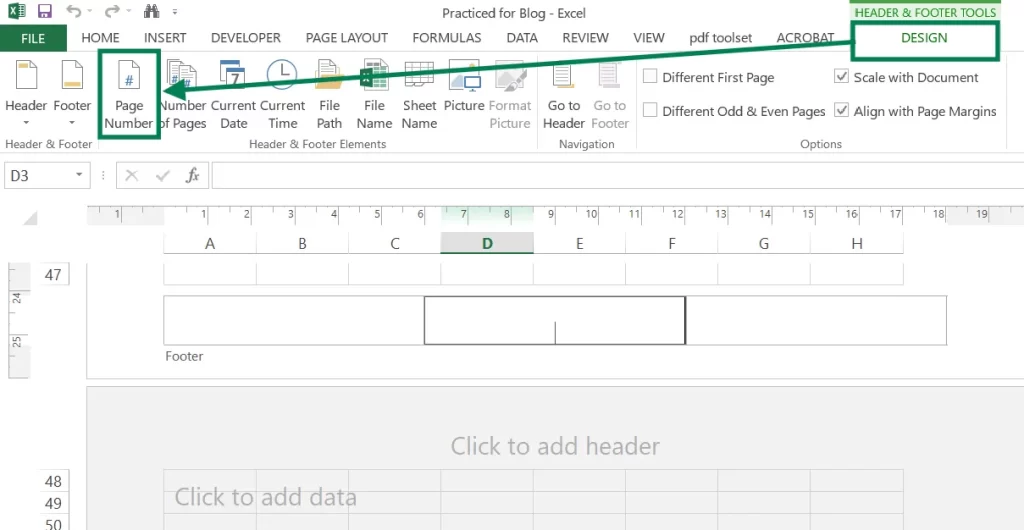
Step 5: For example, to add page numbers:
- Click a footer box, then click Page Number on the Design tab. This will add “Page 1,” “Page 2,” etc.
Excel has ready-made headers and footers:
Step 1: Go to the Insert tab, then click Header & Footer.
Step 2: On the Design tab, click Header or Footer and choose a preset option.
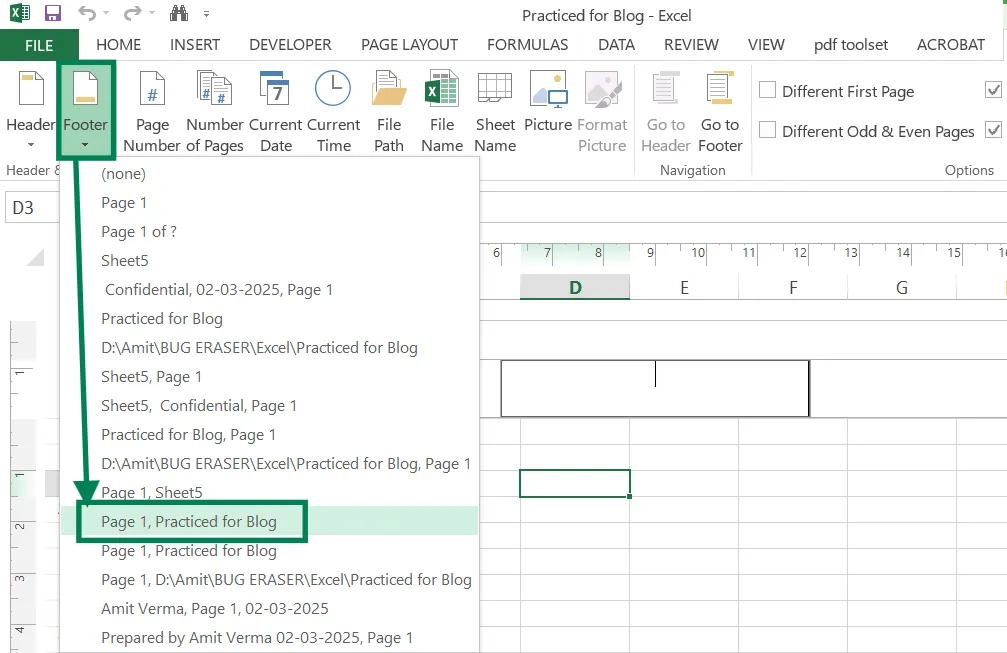
Step 3: For example, you can add a footer with the page number and file name.
Step 1: They are dynamic, meaning they update automatically (e.g., page numbers change).
Step 2: Elements are placed in predefined boxes (left, center, or right).
You can make your own headers and footers:
Step 1: Click Header & Footer on the Insert tab.
Step 2: Click a header or footer box and type your text.
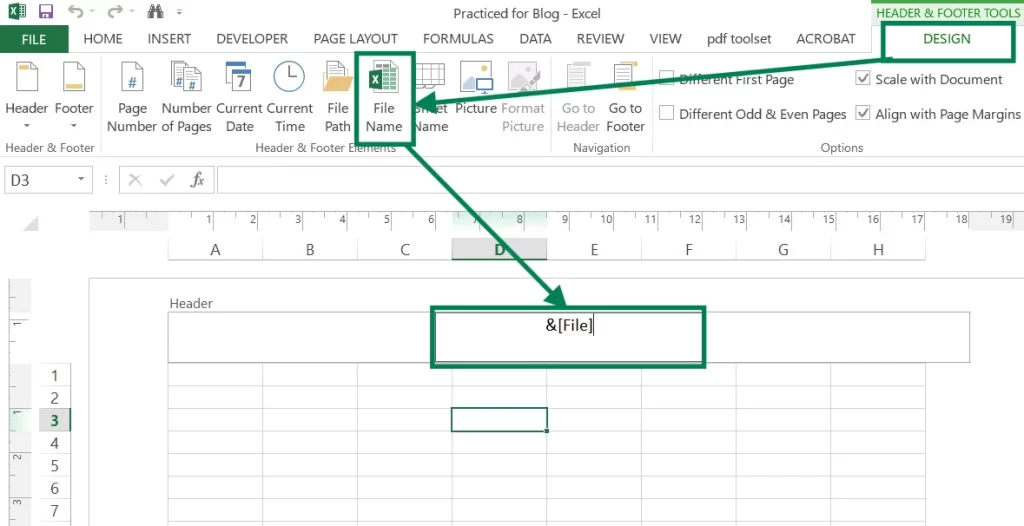
Step 3: Use the Design tab to add elements like page numbers, dates, or pictures.
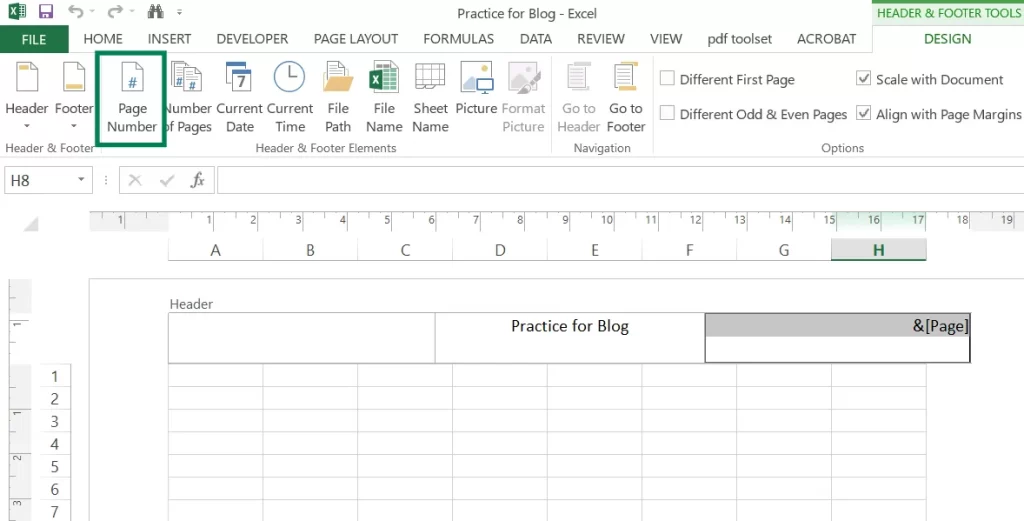
Step 4: For example:
- Add a company logo in the left box.
- Add page numbers in the right box (e.g., “Page 1 of 3”).
- Press Enter to start a new line in a header or footer box.
- Use && to include an ampersand (&) in your text.
- To keep the font size consistent when printing, uncheck Scale with Document on the Design tab.
Also Read: How To Add Degree Symbol In Excel
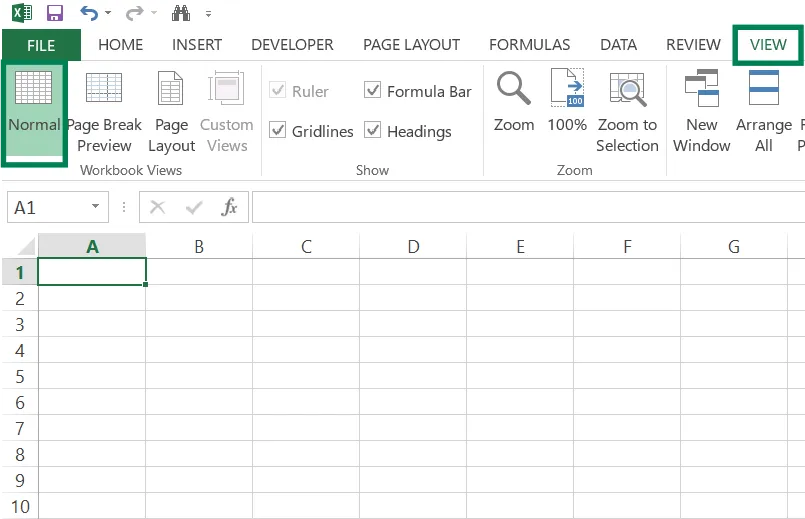
To edit: Switch to Page Layout view, click the header or footer box, and make changes.
To remove: Switch to Page Layout view, click the header or footer box, and press Delete.
For multiple sheets:
- Select the sheets (hold Ctrl to select multiple).
- Open the Page Setup dialog box (on the Page Layout tab).
- Set the header or footer to (none) and click OK.
Extra Tips:
- To add headers/footers to multiple sheets, select all sheets first.
- To format text, select the header/footer text and use the Home tab for font options.
- For a different header/footer on the first page, check Different First Page on the Design tab.
That’s it! Now you know how to add, edit, and remove headers and footers in Excel.
Also Read: How To Add Filter In Excel
Conclusion
In conclusion, adding a header and footer in Excel is an easy way to make your spreadsheets look better. You can add things like page numbers, titles, dates, or logos, and Excel makes it simple to customize. By following the steps in this guide, you can make your documents look clear and professional.
Headers and footers make your work easier to read and keep everything consistent across pages. Try different styles to fit your needs and make your Excel reports more polished. Learning this feature will save you time and make your data clearer.