

How To Add Signature In Excel: Hi friends! If you’re here, it means you want to learn How To Add Signature In Excel. This guide will show you a simple and easy ways to do it.
When you need to sign an Excel file online, you can use the digital signature tools available in Excel. These tools help you create signatures that are legally valid. There are two types of signatures in Excel: the first is a visible signature, and the second is an invisible signature.
So, Let’s start reading this guide without wasting any time!
How To Add Signature In Excel:
“Adding a signature in Excel is a very useful tool to make your document more trustworthy. Here are some simple and easy tips to add a signature to your Excel file. Follow these steps provided below:”
1. Adding a Visible Signature in Excel
If you need to sign an Excel file digitally, you can use Excel’s tools to create a legal e-signature. To do this, you’ll need a signing certificate, which proves your identity. You can get this certificate from a certification authority or through Microsoft’s partner services.
Here’s how to add a visible signature:
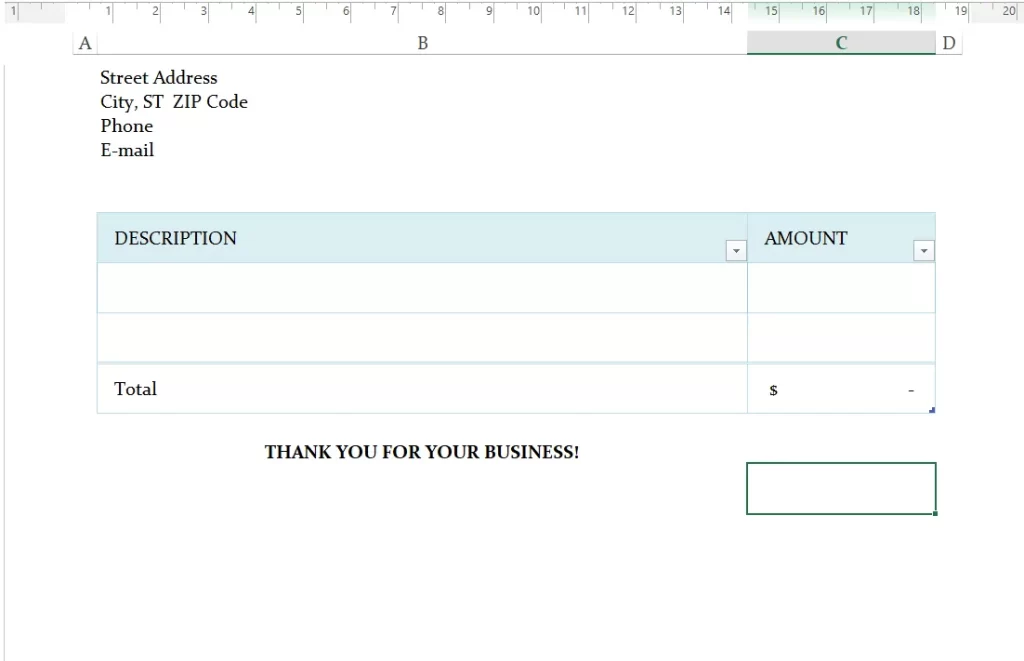
Step 1: Open your Excel file.
Step 2:Click where you want the signature to appear.
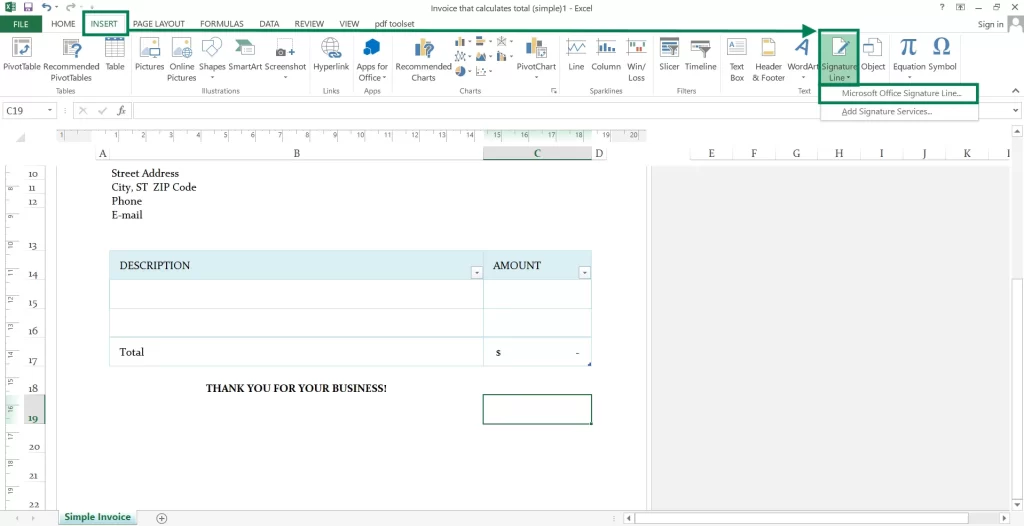
Step 3: Go to the Insert tab, then click Text > Signature Line > Microsoft Office Signature Line.
Step 4: A box will pop up. Fill in the details like the signer’s name, job title, email, and any instructions.
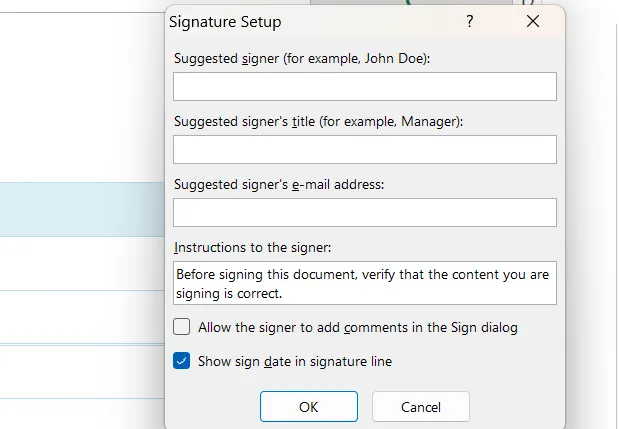
Step 5: Check the boxes at the bottom if you want to show the signing date or let the signer add comments. Click OK.

Step 6: Double-click the signature line (or right-click and select Sign). You might need to save the file first.
Step 7: If you don’t have a digital certificate, Excel will ask if you want to create one. Follow the steps if you do.
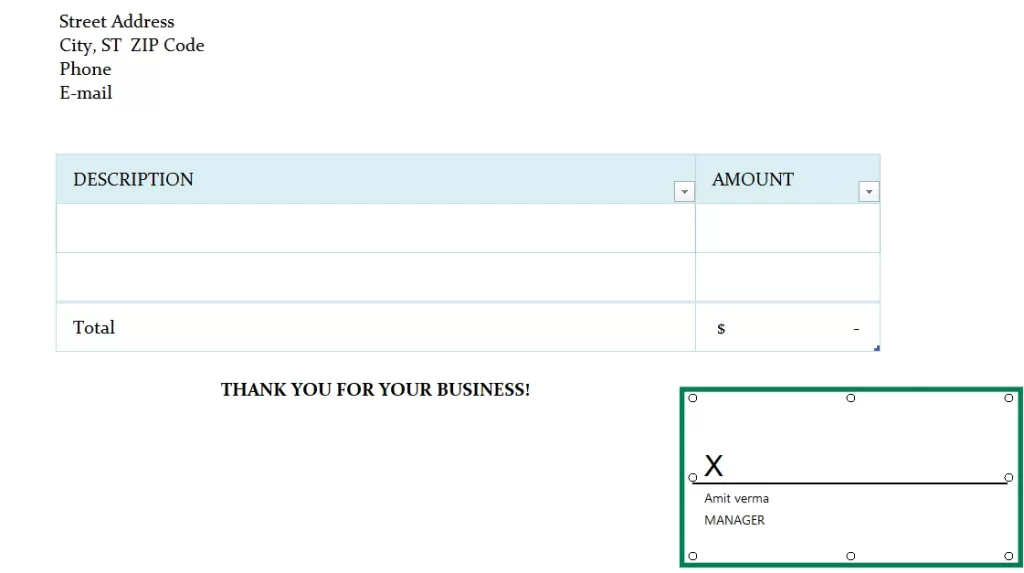
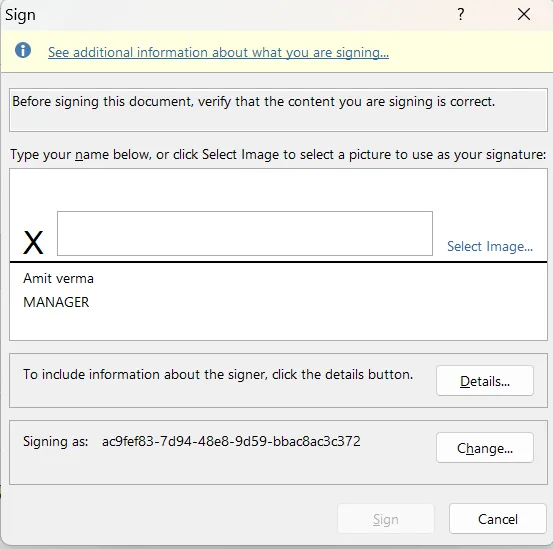
Step 8: Enter your name or add an image, then click Sign.
2. Adding an Invisible Signature
If you don’t want a visible signature, you can add an invisible one to protect the document’s authenticity. This won’t show a signature line but will lock the file to prevent changes.
Here’s how:
- Open the Excel file.
- Go to the File tab, then click Protect Workbook > Add Digital Signature.
- Fill in the details and click Sign.
Once signed, the file becomes read-only, and others can check who signed it by clicking View Signatures.
This version uses simpler words and breaks the steps into smaller, easier-to-follow parts.
Also Read: How To Create Barcode In Excel
Use Of Signature In Excel:
A signature in Excel helps prove a document is real, shows approval, or adds a personal feel. You can add a digital signature for safety or use a handwritten one for a personal touch. This makes sure the document is genuine and hasn’t been changed.
To add a signature, go to the “Insert” tab, click “Text,” and then choose “Signature Line.” Digital signatures are great for official papers, while image signatures are more flexible. Adding a signature makes your Excel files look more professional and trustworthy.
Also Read: How To Create Labels In Excel
Conclusion:
In conclusion, Adding a signature in Excel is an easy and useful way to make your documents official. You can use the Signature Line tool, add a picture of your signature, or use digital signatures. All these options make your work look professional and keep it safe.
By following the steps in this guide, you can quickly sign your Excel files and make them more trustworthy. Pick the method that works best for you. From today, Start signing your Excel files to make your work faster and more secure. Thank you for reading this article till the end!